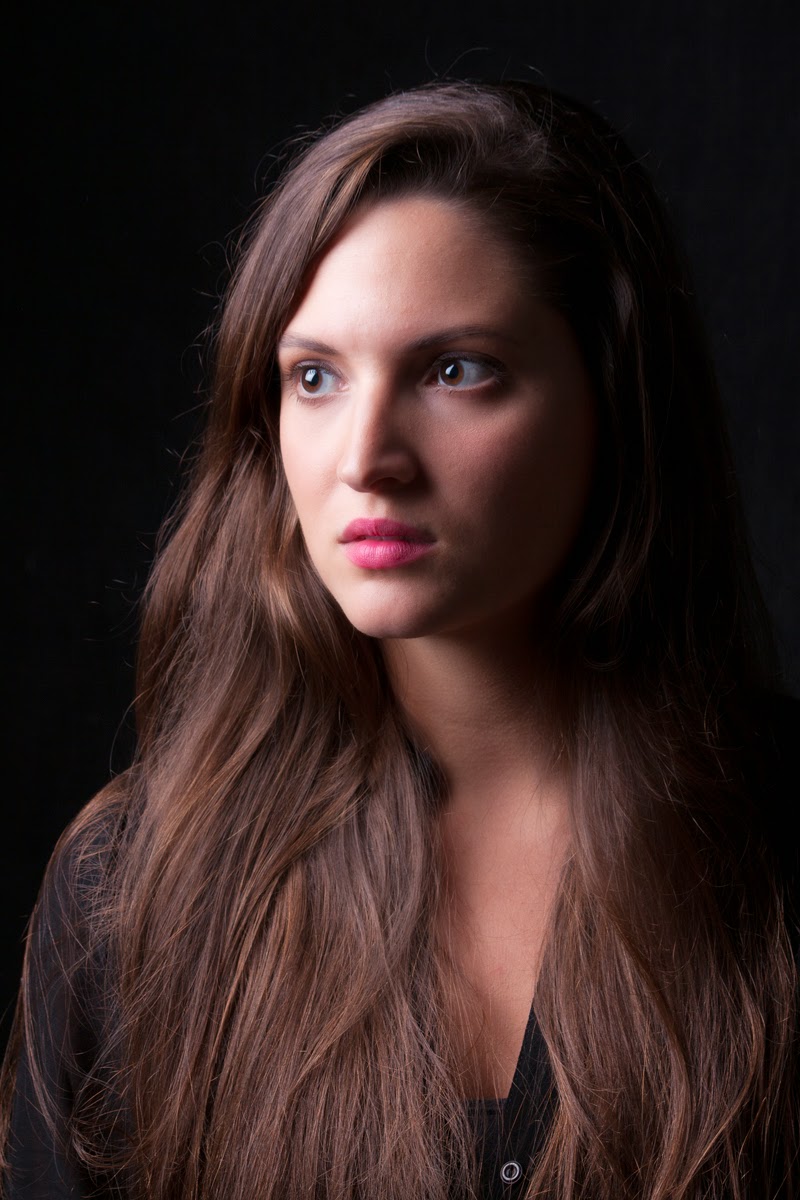
Top light, no diffusion, no fill, gradient sweep backdrop
Top light, no diffusion, with fill, gradient sweep backdrop
Top light, with diffusion, no fill, gradient sweep backdrop
Top light, with diffusion, with fill, gradient sweep backdrop
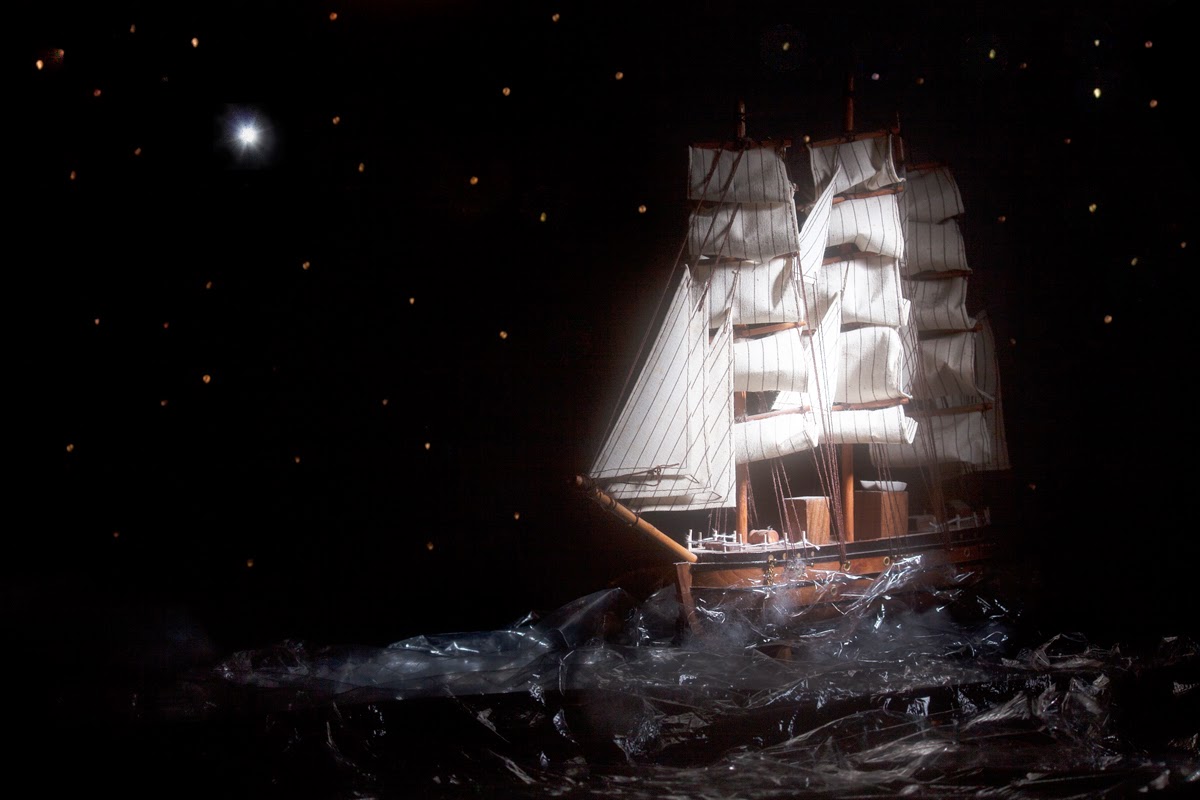
Active side light, background controlled/blocked
In-class group work:
Based on the class demo, using an object of your choice, understand and accomplish the above lighting approaches. Work in your group, assisting each other, and obtaining help from instructors as required. Everyone should shoot their own images. The goal is to fully understand the concept so that you can use these lighting strategies successfully on your own.
Individually:
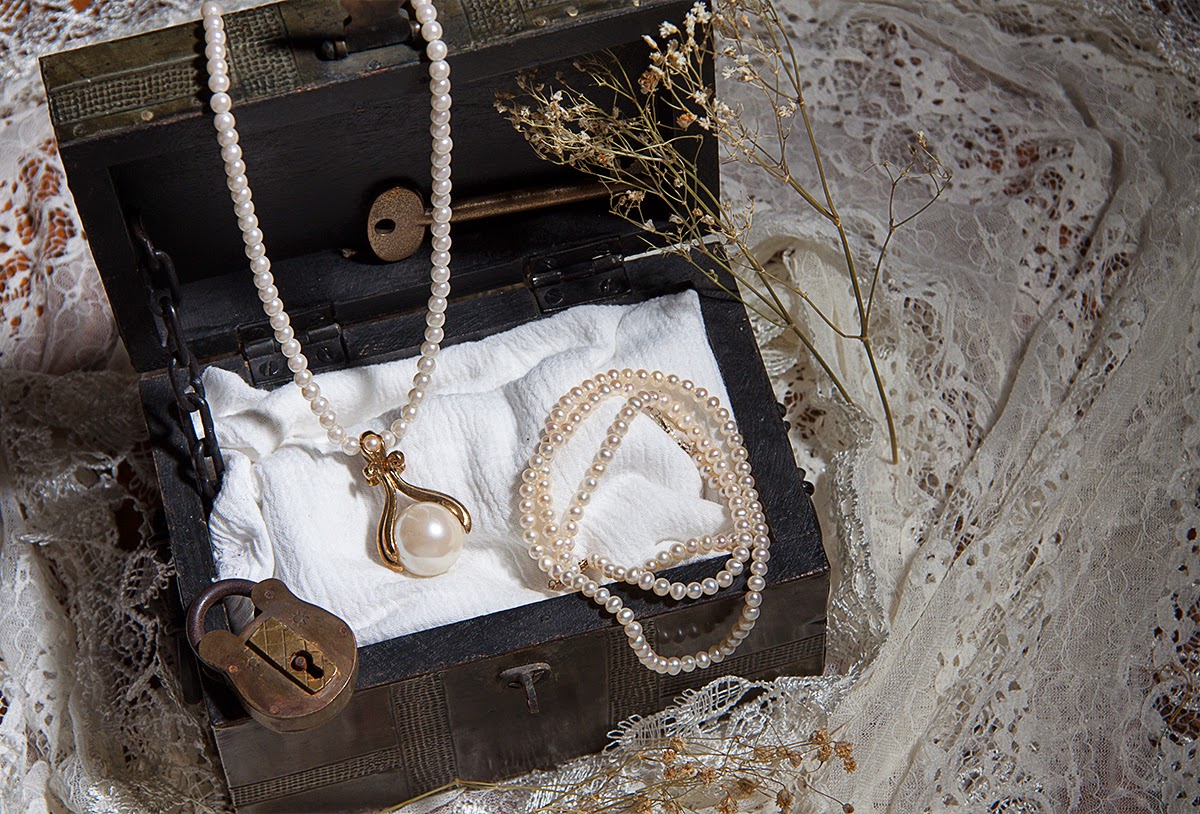
Choose meaningful and visually appealing objects to photograph. They should be at least 8 inches tall and have some volume. The doll above was used out of convenience for a demo...you can do better, I think. Avoid glass and metal for now. Based on the in-class demo and exercise, create an aesthetically strong set of images that explores all five of the above lighting approaches.
- Choose an inspiring table-top subject. (Your decision about what to shoot should inspire you. Do go beyond convenience). For now, avoid overly shiny or glass objects, as these present special lighting concerns we will cover later
- Shoot RAW, low ISO (200-400), with a tripod. When using a tripod, be sure the lens stabilization is off.
- Use a gradient sweep backdrop (for images with top-light)
- Use a middle range f-stop (f5.6, f8, etc.)
- Focus critically on the subject. Manual focus may help. Check focus for each image
- Use hand-held incident light meter reading, set to the "strobe" setting. Set camera to manual mode so that f-stop and shutter speed can be manually set. Use 1/60th second for the shutter speed and use the f-stop indicated by the hand-held light meter.
- Use the following lighting designs to create an aesthetically pleasing image. While some factors, like lighting design, are pre-determined for this study, other considerations like camera angle, composition, zoom/in-camera crop, proper exposure, are all in play for you to optimize
Lighting designs:
- Top light, no diffusion, no fill, gradient sweep backdrop
- Top light, no diffusion, with fill (using reflector), gradient sweep backdrop
- Top light, with diffusion, no fill, gradient sweep backdrop
- Top light, with diffusion, with fill (using reflector), gradient sweep backdrop
- Active side light, background controlled/blocked